Features
Articles
Voice Data Video etc
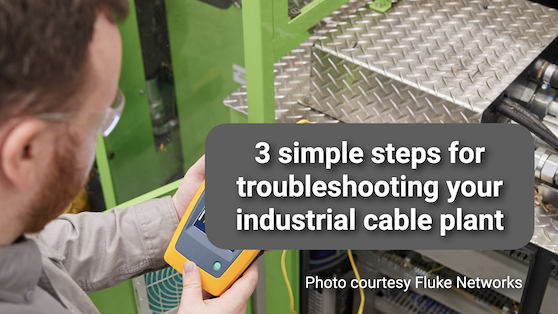
3 simple steps for troubleshooting your industrial cable plant
July 6, 2021 | By Mark Mullins
Troubleshooting an industrial Ethernet network quickly and effectively can mean the difference between an hour of unplanned downtime versus days.
July 6, 2021 – With the growing adoption of the industrial internet of things (IIoT) and its ability to seamlessly transmit and share supervisory and control data (SCADA) across the entire factory floor, industrial Ethernet has rapidly become the communication protocol of choice in the manufacturing and processing industries.
While industrial Ethernet commonly leverages twisted-pair copper cabling systems that have been hardened to stand up to factors such as vibration, dust and liquid ingress, chemicals, and electromagnetic interference found in the industrial environment, problems within an installed cable plant can and do still arise, bringing production to a standstill.
Troubleshooting an industrial Ethernet network quickly and effectively can mean the difference between an hour of unplanned downtime versus days, which can translate into millions of dollars of lost revenue. Following these three simple steps can help plant managers quickly identify and locate problems to expedite fixes.
Step 1: Look for the obvious first
More than half of industrial Ethernet problems are related to the cabling, and the first step in troubleshooting is to check for obvious issues like length and connectivity. When a cable is too long for a given application or environment, signals may be too weak by the time they reach the far end, leading to hard failures or intermittent problems. When each of the cable’s conductors is incorrectly connected to its corresponding pin, it can prevent the signal from reaching the other end.
Verifying connectivity is achieved with a simple wiremap test that looks for opens that occur when a conductor is not connected or has been broken; shorts that occur when the signal crosses from one conductor onto another; and miswirings, such as reversed pairs, crossed pairs, and split pairs caused by connecting conductors to the wrong pins at the far end.
Wiremap testing is especially essential for identifying a split pair that maintains pin-to-pin continuity but separates the physical pairs. However, a simple DC continuity test will Pass but not identify the problem. In the industrial environment, where shielded cabling is prominent, the problem could also be related to a break in the continuity of the shield.
An industrial Ethernet environment is rarely limited to just one application, and it’s important to select a tester that can calculate a range of lengths and support multiple connector types to identify opens, shorts, miswirings, and shield integrity on both 4-pair and 2-pair connected systems.
Step 2: Qualify cable performance
Once length and continuity issues are ruled out, qualification testing is the next step in isolating the problem. While the industrial Ethernet cable plant should have undergone certification testing after installation to ensure it complies with industry standards and meets all required specs, changes to the cabling plant or application can later impact performance.
Qualification testing delves into additional transmission parameters such as insertion loss, return loss, near end crosstalk (NEXT) and delay skew to determine whether the existing cable plant can support the signalling of specific industrial Ethernet applications.
For example, let’s say you have a cable link that was originally deployed to support Profinet, transmitting at 100 Megabits per second (Mb/s), and an upgrade to machinery and signalling equipment means the same link now needs to support EtherCAT G at a rate of 1 Gigabit per second (Gb/s). While the cable may pass length and wiremap testing, a qualification test can show that the cable is only capable of supporting 100 Mb/s.

Qualification testing done prior to upgrades will confirm whether the existing cabling plant will support a new technology, thereby saving time and headache.
Step 3: Check the active equipment
If you’re still experiencing transmission problems after cabling issues have been ruled out, it may be time to take a closer look at the active equipment. Most network switches use link layer discovery protocols that allow them to discover connected devices and advertise their capabilities, including port ID, system name and description, VLAN, and transmission speeds.
Testers with the ability to receive link layer discovery protocol information are ideal for network mapping, and identifying whether the problem is due to misconfigured active equipment or the cable is simply connected to the wrong port, or the link is assigned to the wrong VLAN.
Identifying whether the problem resides at the switch can significantly reduce troubleshooting time, especially in the industrial environment where small DIN rail-mounted industrial Ethernet switches mounted within control cabinets are often difficult to access.
Haste prevents waste
Following these three simple steps for troubleshooting your industrial cable plant helps you identify problem spots and get everything up and running as quickly as possible, thereby avoiding prolonged unplanned downtime and loss of revenue.
Mark Mullins is one of the founding members of Fluke Networks, starting in 1993. He has been involved in all of the key areas of the business, including cable testing, network troubleshooting and analysis, and currently oversees the company’s global communications efforts. As a member of the Ethernet Alliance Marketing Committee, he is responsible for promoting the Gen 2 PoE Certification program. He holds a B.S. in Computer Science and an MBA from the University of Washington.
This article—along with other great content—appears in the June 2021 edition of Electrical Business Magazine. Even more back issues are located in our Digital Archive.
Print this page